- What Is Handstand Exercise?
- What Muscle Groups Are Targeted?
- Advantages and Disadvantages of Handstand Exercise
- Equipment Needed for Handstand Exercise
- How Often to Do Handstand Exercise
- Who Needs This Exercise and Who Should Avoid It
- Alternatives to Handstand Exercise
- Commmon Mistakes in Handstand Exercise
What Is Handstand Exercise?
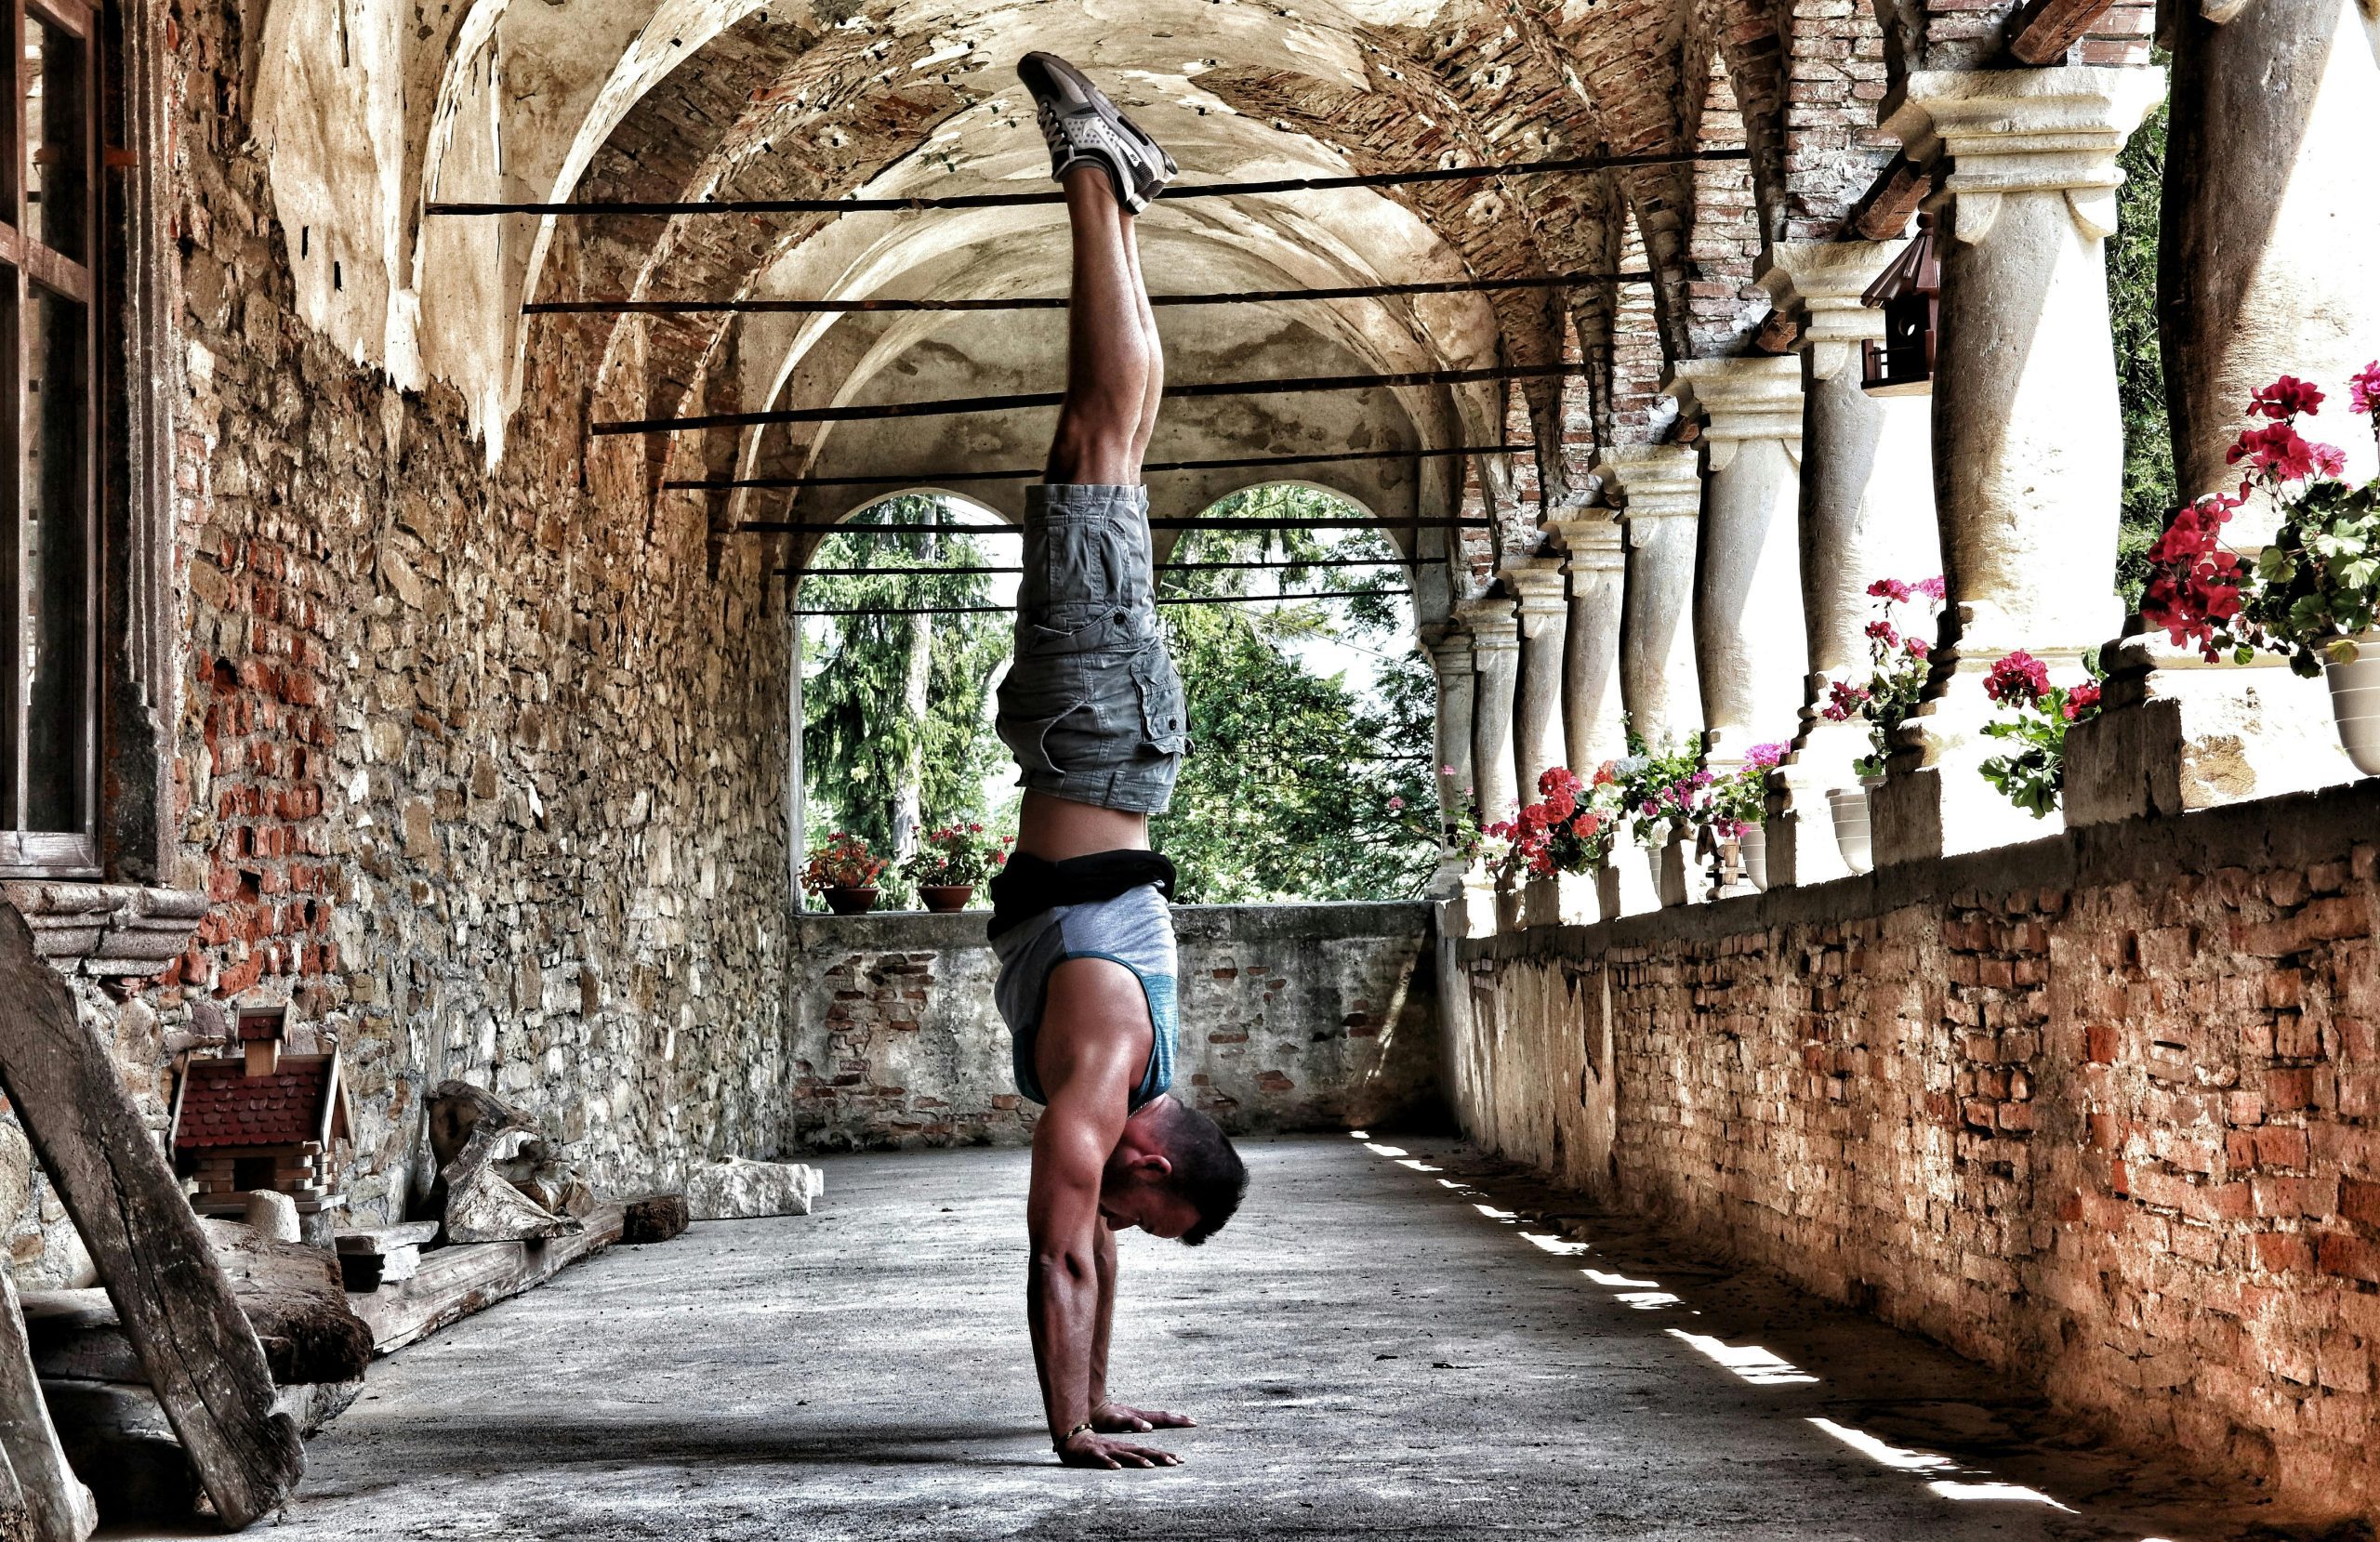
The handstand is a physically demanding exercise where an individual supports their entire body weight inverted, balancing on their hands with arms straight and shoulders over the wrists. This advanced gymnastic and yoga pose requires a combination of strength, stability, and body control. To perform a handstand, one typically kicks up or pikes up from a standing position, engaging the core and using the hands to maintain balance. Achieving and holding a handstand involves intricate adjustments in the fingers, wrists, and shoulders to maintain alignment and equilibrium.
The handstand offers a myriad of benefits, including the development of upper body strength, improved core stability, enhanced balance, and increased bone density in the arms and shoulders. The exercise also promotes mental focus, mindfulness, and stress reduction. While the handstand is an advanced skill, practitioners often begin with preparatory exercises and progress gradually. It’s crucial to approach handstands with caution, especially if there are existing wrist, shoulder, or neck issues, and learning under the guidance of a qualified instructor is recommended.
What Muscle Groups Are Targeted?
The handstand is a compound exercise that engages multiple muscle groups throughout the body, particularly focusing on the upper body, core, and stabilizing muscles. Here are the primary muscle groups targeted during a handstand:
- Shoulders:
- The deltoids, which are the muscles surrounding the shoulder joint, play a significant role in supporting the body weight and maintaining stability during a handstand.
- Triceps:
- The triceps brachii, located on the back of the upper arm, are heavily engaged in the straight-arm position of the handstand.
- Chest:
- The pectoralis major, the large chest muscle, is activated to a certain extent, especially during the initial push-up phase of kicking or piking up into the handstand.
- Upper Back:
- Muscles of the upper back, including the traps and rhomboids, work to stabilize the shoulder blades and contribute to maintaining proper posture.
- Core Muscles:
- The entire core is engaged to stabilize the body and prevent excessive arching or bending at the hips. This includes the rectus abdominis, obliques, and transverse abdominis.
- Lower Back:
- The erector spinae muscles, which run along the spine, play a role in maintaining a straight line from the head to the toes.
- Forearms and Wrists:
- The muscles of the forearms and wrists are essential for supporting the body weight and controlling hand placement.
- Hip Flexors:
- The muscles at the front of the hips, including the iliopsoas, are engaged as the legs are lifted and extended upward.
- Glutes:
- The gluteal muscles contribute to the stability of the pelvis and lower body.
- Leg Muscles:
- The muscles of the legs, including the quadriceps and hamstrings, work to lift and extend the legs upward.
- Stabilizing Muscles:
- Various stabilizing muscles throughout the body, including those in the neck, chest, and lower back, work collectively to maintain balance and control.
The handstand is a full-body exercise that requires coordination and strength from head to toe. While the emphasis is on the upper body and core, the engagement of stabilizing muscles throughout the body contributes to the overall control and balance needed for a successful handstand.
Advantages and Disadvantages of Handstand Exercise
Advantages of Handstand Exercise:
- Upper Body Strength:
- Handstands are excellent for building strength in the shoulders, arms, and upper back. The exercise requires the muscles to support the entire body weight.
- Core Stability:
- Balancing in a handstand engages the core muscles, promoting stability and strength in the abdominal region.
- Improved Balance and Coordination:
- Handstands enhance body awareness, balance, and coordination as individuals learn to control their position while inverted.
- Bone Density:
- The inverted nature of handstands can contribute to increased bone density in the arms and shoulders.
- Enhanced Circulation:
- Being upside down promotes blood circulation, which may benefit the cardiovascular system and overall well-being.
- Mental Focus:
- Mastering the handstand demands concentration and mental focus, contributing to mindfulness and stress reduction.
Disadvantages and Considerations:
- Risk of Injury:
- Performing handstands without proper form or attempting them without adequate preparation can lead to wrist, shoulder, or neck injuries.
- Requires Strength and Skill:
- Handstands are an advanced exercise that may be challenging for beginners. Progression should be gradual to avoid strain.
- Not Suitable for Everyone:
- Individuals with certain health conditions, such as high blood pressure, glaucoma, or heart issues, may need to avoid or modify handstands. Consultation with a healthcare professional is advisable.
- Wrist Strain:
- The wrists bear a significant load during handstands, and some individuals may experience strain. Strengthening the wrists and using proper hand placement can help mitigate this.
- Fear and Anxiety:
- Being upside down can trigger fear or anxiety in some individuals. Overcoming mental barriers is an essential aspect of mastering handstands.
- Limited Lower Body Engagement:
- While handstands are excellent for upper body and core strength, they offer limited engagement for lower body muscles.
It’s crucial to approach handstands with caution, especially for beginners. Learning under the guidance of a qualified instructor, building strength gradually, and listening to the body are essential to minimize the risk of injury. Individuals with pre-existing health concerns should consult with a healthcare professional before attempting handstand exercises.
Equipment Needed for Handstand Exercise
Handstand exercises typically require minimal equipment, and many practitioners perform handstands with just their body weight. However, the following equipment can be useful for support, safety, and progression:
- Yoga Mat:
- A non-slip yoga mat provides a comfortable surface for handstand practice. It can also help absorb some impact if the practitioner needs to come out of the handstand.
- Wall:
- Practicing handstands against a wall is a common way to build strength, confidence, and proper alignment. A clear wall space without obstacles is ideal.
- Handstand Blocks (Optional):
- Yoga blocks can be placed under the hands to elevate them slightly, providing better wrist comfort and allowing beginners to practice handstand alignment with less stress on the wrists.
- Wrist Supports (Optional):
- Individuals with wrist sensitivity may choose to use wrist supports or braces to provide additional stability and support during handstand practice.
- Handstand Canes (Optional):
- Handstand canes are specialized tools designed to assist in handstand training by providing additional height and support for the hands. They are more commonly used by advanced practitioners.
- Handstand Training Aids (Optional):
- Various handstand training aids, such as parallettes or handstand bars, can be used to assist in building strength and stability.
- Spotter (Optional):
- Having a trained spotter or instructor can be valuable, especially for beginners or those working on advanced handstand variations. A spotter can provide assistance and help prevent falls.
It’s important to note that while some equipment can enhance handstand practice, the foundational elements of handstand training involve body awareness, strength development, and proper technique. Beginners are encouraged to start with wall-supported handstands and progress gradually. As skills improve, individuals may choose to incorporate additional equipment for specific training goals. Always prioritize safety, and consult with a qualified instructor if you’re new to handstand training.
How Often to Do Handstand Exercise
The frequency of handstand practice can vary based on individual fitness levels, experience, and goals. Here are general guidelines for incorporating handstand exercises into your routine:
- Beginners:
- If you’re new to handstands or building up strength and confidence, start with 2-3 sessions per week. Consistency is key, but allow for sufficient rest between sessions to avoid overtraining.
- Intermediate Practitioners:
- As you become more comfortable with handstands, you can increase the frequency to 3-5 sessions per week. This allows for more regular practice to reinforce muscle memory and improve strength.
- Advanced Practitioners:
- Advanced practitioners who are working on refining their handstand skills, exploring variations, or incorporating handstands into more advanced sequences may practice 4-6 times per week.
- Rest and Recovery:
- Regardless of skill level, it’s crucial to incorporate rest days into your routine to allow the muscles, joints, and nervous system to recover. Consider having at least one or two days off from intense handstand training each week.
- Listen to Your Body:
- Pay attention to how your body responds to handstand practice. If you experience fatigue, soreness, or signs of overtraining, give yourself adequate rest. Recovery is essential for progress and injury prevention.
- Warm-Up:
- Prioritize a thorough warm-up before each handstand session. Warm-up exercises should include wrist mobility work, shoulder stretches, and core activation.
- Skill Work vs. Strength Training:
- Differentiate between skill work (focusing on balance and form) and strength training (working on building muscle strength). Balancing both aspects can contribute to overall handstand development.
- Consistency is Key:
- Handstands, like any skill, benefit from consistent practice. Short, focused sessions may be more effective than sporadic, lengthy ones.
Remember that individual factors such as fitness level, recovery capacity, and overall training program influence the ideal frequency of handstand practice. Additionally, progress in handstands takes time, and patience is essential. If you have specific fitness goals or concerns, consider consulting with a qualified instructor or fitness professional to tailor your handstand practice to your needs.
Who Needs This Exercise and Who Should Avoid It
Who Benefits from Handstand Exercise:
- Fitness Enthusiasts:
- Individuals looking to enhance overall strength, especially in the upper body, core, and shoulders, can benefit from handstand exercises.
- Yoga Practitioners:
- Handstands are often incorporated into yoga practices to improve balance, build strength, and advance one’s yoga practice.
- Gymnasts and Athletes:
- Gymnasts, acrobats, and athletes in sports requiring upper body strength and balance can incorporate handstand training to improve their performance.
- Those Seeking Core Stability:
- Handstands engage the core muscles significantly, making them beneficial for individuals aiming to strengthen their abdominal region and improve core stability.
- Mind-Body Connection:
- Handstands require concentration and body awareness, making them suitable for those seeking mind-body connection and improved proprioception.
Who Should Approach Handstand Exercise with Caution:
- Beginners:
- Individuals new to fitness or handstand training should start with caution. Proper progression, form, and a gradual increase in difficulty are crucial to avoid injury.
- Wrist Issues:
- Individuals with existing wrist issues or injuries should approach handstand exercises with caution. Strengthening the wrists and using proper hand placement can help mitigate potential strain.
- Shoulder or Neck Problems:
- Individuals with shoulder or neck issues should consult with a healthcare professional before attempting handstand exercises. Proper form is crucial to avoid exacerbating existing problems.
- High Blood Pressure:
- Individuals with high blood pressure or certain cardiovascular conditions should be cautious when practicing inversions like handstands. Consultation with a healthcare professional is advisable.
- Pregnant Women:
- Pregnant women, especially those in later stages of pregnancy, should avoid handstand exercises. The risk of falling and the increased pressure on the abdomen make it unsafe.
- Certain Medical Conditions:
- Individuals with certain medical conditions, such as glaucoma or heart issues, should seek guidance from a healthcare professional before attempting handstand exercises.
- Fear or Anxiety:
- Those with a fear of being upside down or a history of anxiety may find handstands challenging. It’s essential to address mental barriers and progress at a comfortable pace.
Before incorporating handstand exercises into your routine, especially if you fall into the cautionary categories, it’s advisable to consult with a qualified fitness professional or healthcare provider. They can provide personalized guidance and help you determine the suitability of handstands based on your individual health and fitness status.
Alternatives to Handstand Exercise
If handstand exercises are not suitable or comfortable for you, there are alternative exercises that target similar muscle groups and provide benefits for strength, stability, and balance. Here are some alternatives:
- Forearm Plank:
- Assume a plank position with forearms on the ground. Engage the core and hold the position to build shoulder and core strength.
- Dolphin Pose (Yoga):
- Start in a forearm plank position, lift your hips toward the ceiling, forming an inverted V shape. This yoga pose strengthens the shoulders, core, and legs.
- Pike Push-Ups:
- Begin in a downward dog position with hands shoulder-width apart. Lower your head toward the ground and push back up, focusing on shoulder strength.
- Shoulder Taps:
- From a plank position, lift one hand and tap the opposite shoulder. This challenges stability and engages the core and shoulder muscles.
- Wall-Assisted Inversions:
- Instead of a full handstand, practice inverted positions against a wall. This allows you to build strength and confidence gradually.
- Downward Dog with Leg Lifts:
- From a downward dog position, lift one leg toward the ceiling. This targets the shoulders, core, and leg muscles without the full inversion.
- Tripod Headstand (Yoga):
- In this yoga pose, the head and forearms support the body while the legs extend upward. It offers similar benefits to handstands but with less intensity.
- Bear Crawl:
- Crawl on hands and feet in a bear-like position, engaging the core and shoulders. This exercise challenges stability and coordination.
- Crow Pose (Yoga):
- Crow pose involves balancing on hands with the knees resting on the back of the arms. It builds arm and core strength while introducing an element of balance.
- Push-Ups:
- Traditional push-ups strengthen the chest, shoulders, and triceps. Variations like wide grip or diamond push-ups can target different muscle groups.
Always listen to your body and choose exercises that align with your fitness level and comfort. If you have specific health concerns or limitations, it’s advisable to consult with a fitness professional or healthcare provider for personalized guidance on alternative exercises.
Commmon Mistakes in Handstand Exercise
Performing handstands requires proper form and technique to ensure safety and effectiveness. Here are common mistakes to avoid during handstand exercises:
- Poor Hand Placement:
- Mistake: Placing the hands too close together or too far apart can compromise stability.
- Correction: Position the hands shoulder-width apart with fingers spread for a stable base.
- Misaligned Shoulders:
- Mistake: Allowing the shoulders to collapse or shrug during the handstand.
- Correction: Keep the shoulders engaged and away from the ears, maintaining a strong and stable shoulder position.
- Arching or Overarching the Back:
- Mistake: Allowing the back to arch excessively or overarching the lower back.
- Correction: Aim for a straight line from the wrists to the hips and down to the toes, engaging the core to prevent excessive arching.
- Incorrect Head Position:
- Mistake: Looking down between the hands or letting the head hang.
- Correction: Keep the head in a neutral position, looking at a spot on the ground between the hands.
- Neglecting Core Engagement:
- Mistake: Not actively engaging the core muscles.
- Correction: Maintain strong core engagement throughout the handstand to stabilize the entire body.
- Lack of Wrist Strength:
- Mistake: Neglecting to build wrist strength before attempting handstands.
- Correction: Strengthen the wrists with exercises and warm-ups to reduce the risk of strain.
- Insufficient Warm-Up:
- Mistake: Skipping a proper warm-up before attempting handstands.
- Correction: Warm up the wrists, shoulders, and core to prepare the body for the demands of handstand practice.
- Uncontrolled Entry and Exit:
- Mistake: Rushing into or out of the handstand without control.
- Correction: Enter and exit handstands with control, using proper techniques to minimize the risk of injury.
- Overreliance on the Wall:
- Mistake: Depending too much on the wall for support.
- Correction: While practicing against a wall is helpful, gradually work on balancing away from the wall to improve independence and control.
- Skipping Progressions:
- Mistake: Attempting advanced handstand variations without mastering basic progressions.
- Correction: Progress gradually, mastering each stage before moving on to more challenging handstand variations.
- Tension in the Neck and Shoulders:
- Mistake: Holding tension in the neck and shoulders.
- Correction: Keep the neck relaxed, and focus on distributing the weight evenly across the hands and shoulders.
- Poor Entry Technique:
- Mistake: Using improper techniques to enter the handstand, such as not lifting the legs properly.
- Correction: Practice proper entry techniques, including kicking up with control or piking up with precision.
Always prioritize safety, proper technique, and gradual progression when practicing handstands. If you’re new to handstand exercises, consider seeking guidance from a qualified instructor to ensure correct form and reduce the risk of injury.